In the shop
Print the shop report and part labels
Some days paper beats a screen. Print gives you a shop report: a summary page with the materials, the cost and the cut list, then a page for each sheet. Part labels print on Avery 5160 sheets, so every part can carry its name and size.
Steps
-
Open your project and click Print in the top bar (the printer button), or press P. Your browser's print dialog opens straight away: there is no preview inside PanelPlanner, so check the pages in the dialog's own preview. Page 1 is the summary, then comes a page for each sheet.
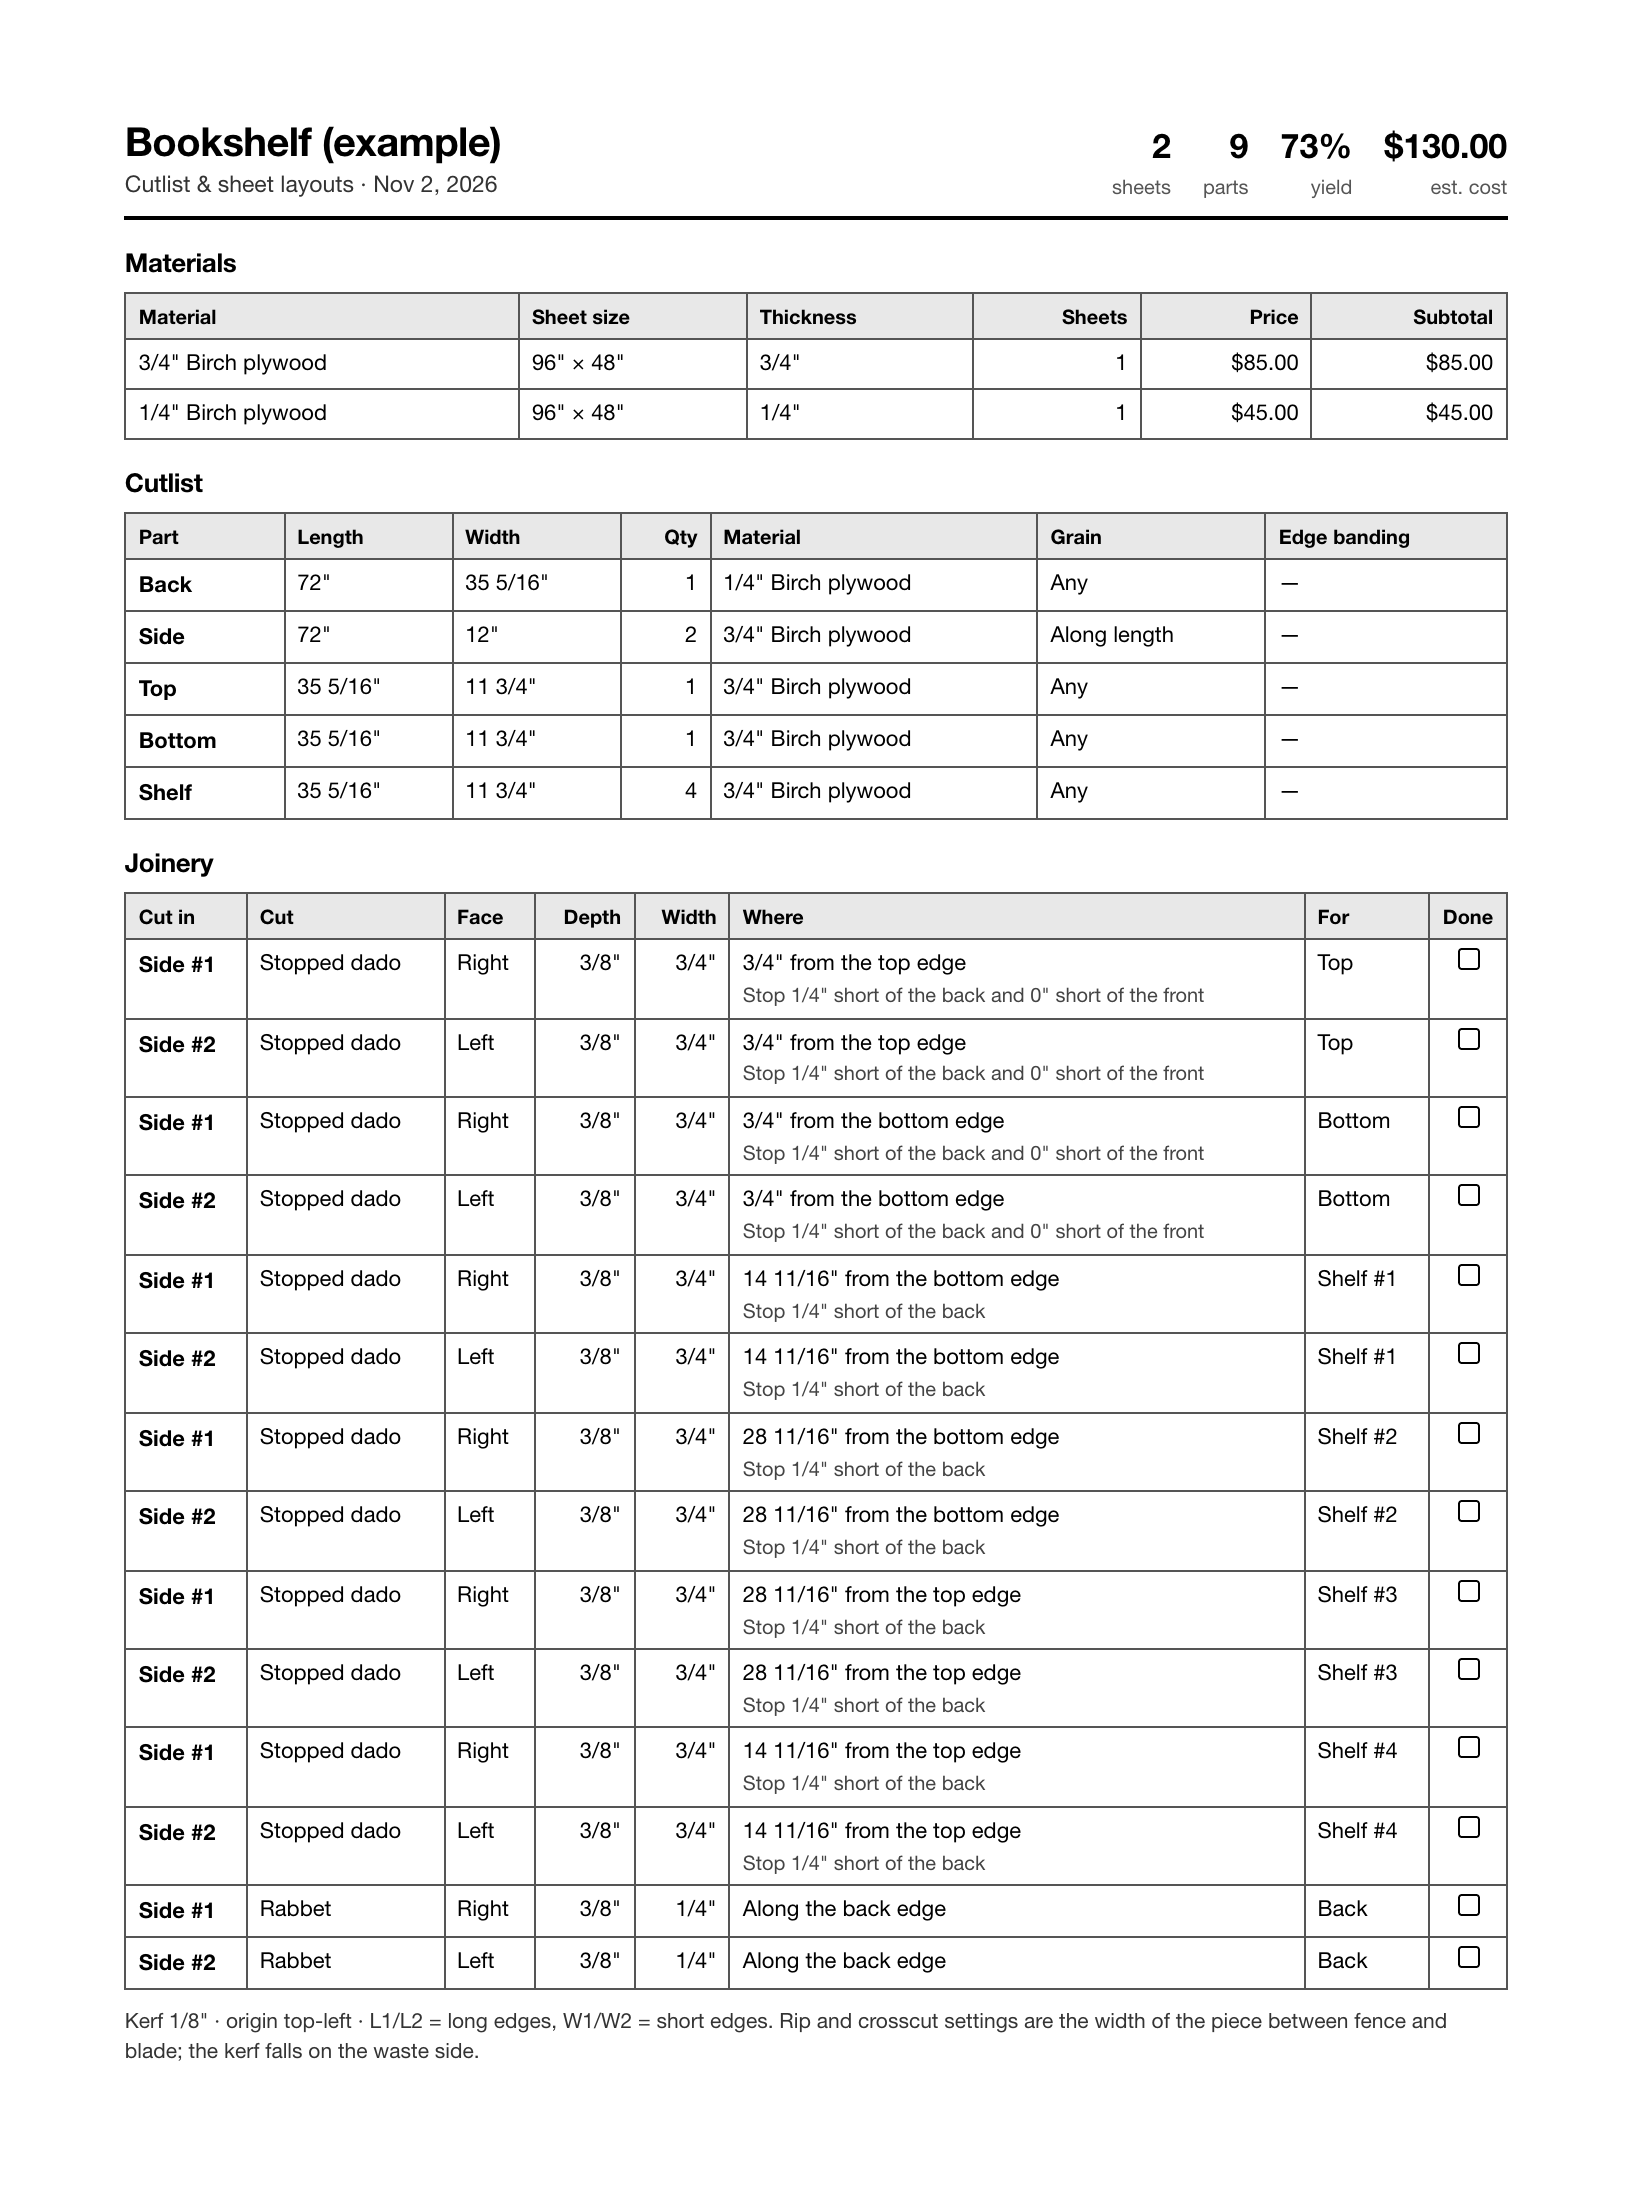
Page 1, the summary: the sheet and part counts, yield and cost, the materials, the cut list grouped by part, and a joinery table with a box to tick as each dado and rabbet is cut. 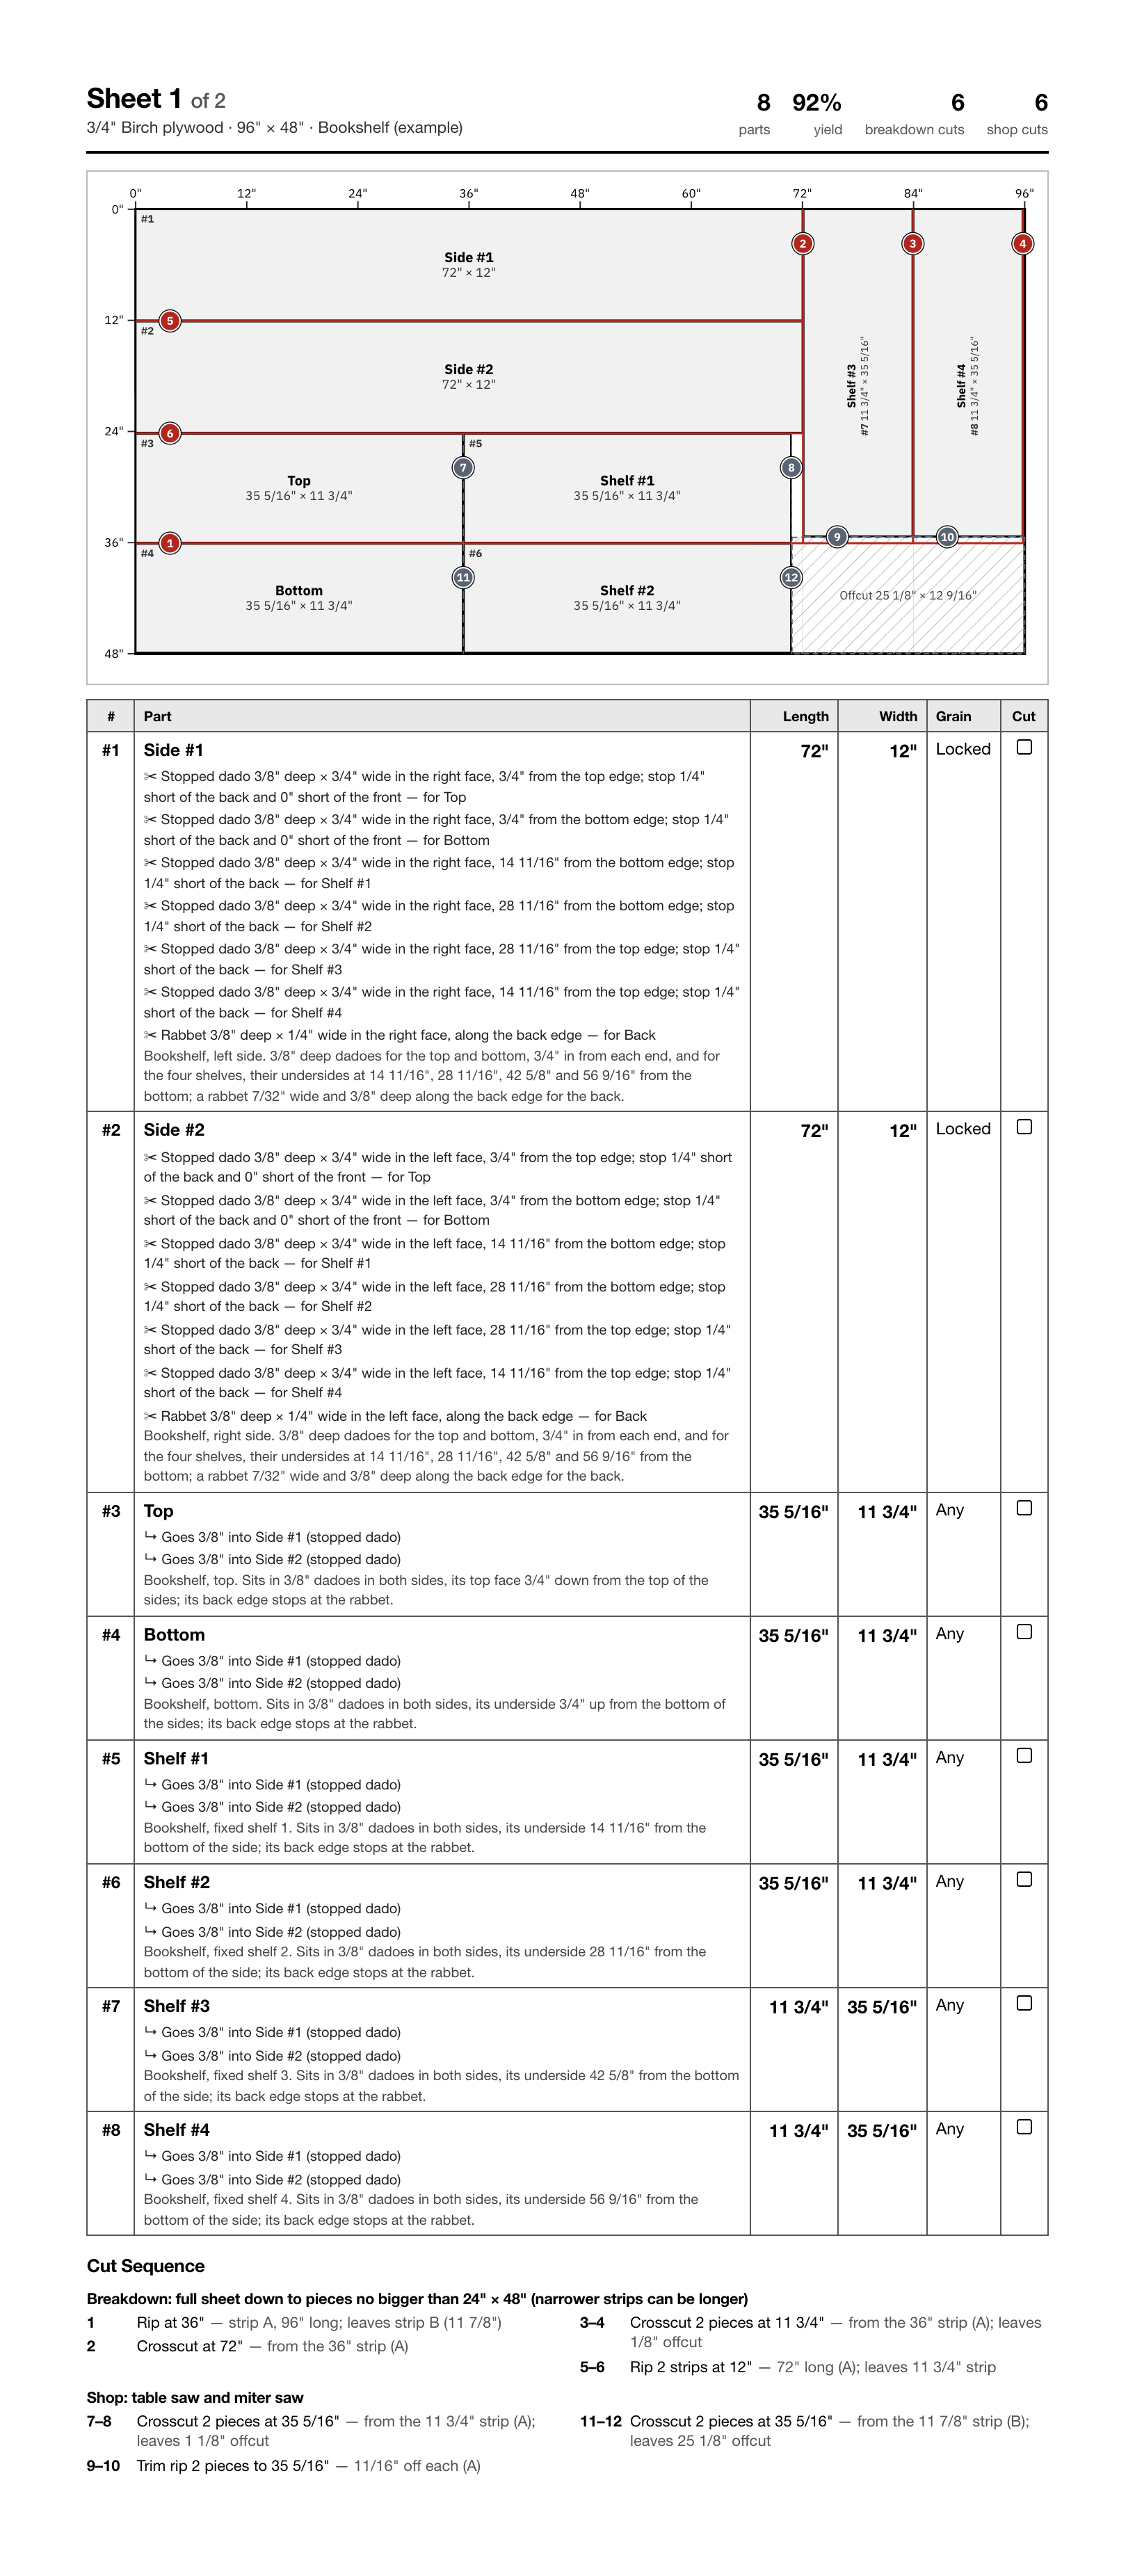
A sheet page: the diagram, a table of its parts with a box to tick as each one is cut, and their joinery notes. Sheet 1's page ends with its numbered cut sequence on every plan; on the other sheets' pages the cut sequencePro needs Pro or a Project Pass for that project. A page this long runs onto a second sheet of paper. -
Pick your printer, or save as a PDF, and print.
-
For labels, click the arrow beside Print and choose Part labels (Avery 5160)Pro. The print dialog opens again, this time with the label sheets. On a phone, Print part labels is in the More menu (⋯).
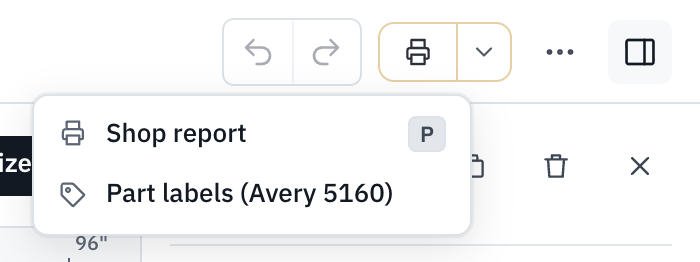
The arrow beside Print holds everything that prints: the shop report and the part labels. -
Load Avery 5160 label sheets (30 labels a sheet) and print at 100%, not shrunk to fit, so the labels land on the stickers.
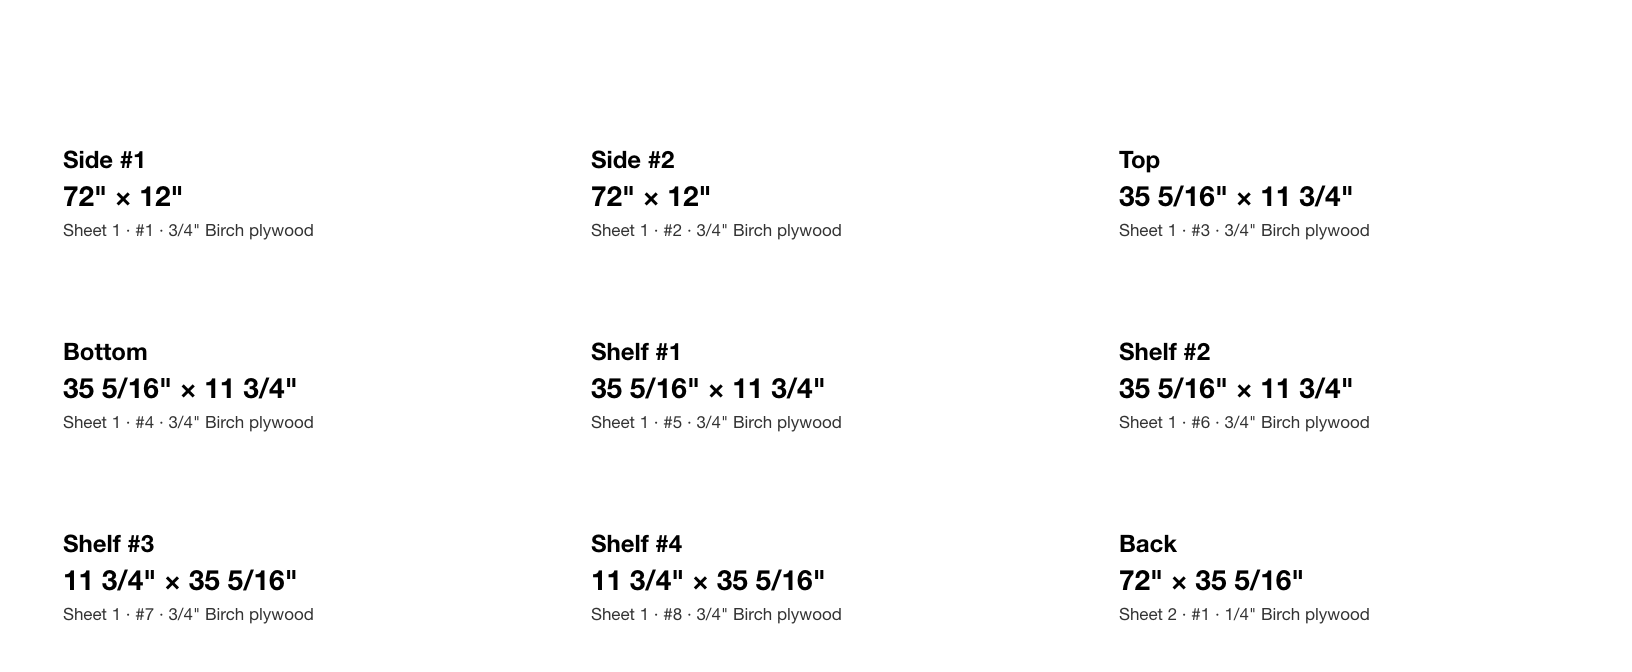
Each label carries the part's name and size, then its sheet, part number and material.
Good to know
- A project from the wizard adds its drawings, the lumber list and the hardware it needs to the report.
- Parts you have ticked off in Cut mode print already ticked.
- The report is free. On Free its footer reads Planned with PanelPlanner.app; with Pro you can put your shop's name there instead: More menu, Project settings…, Shop name on printoutsPro.
Try it
Try it Opens the bookshelf example as your own copy. Click Print, or press P.